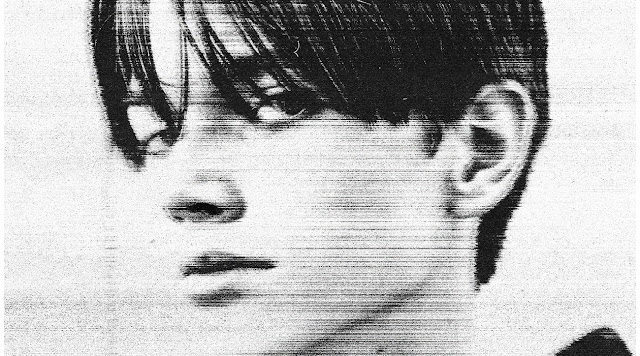
Easily Create a bad photocopy photo effect in Photoshop with this easy step-by-step tutorial! Perfect for adding a gritty, retro vibe to your images.

Turn Photos into Bad Photocopies – Photoshop Effect Tutorial
In the world of digital art and photo editing, sometimes the most striking effects come from mimicking imperfections. One such effect is the bad photocopy look, which gives your photos a gritty, retro, and slightly distorted aesthetic. This effect is perfect for creating vintage posters, album covers, or adding an edgy vibe to your social media posts. In this Photoshop tutorial, I’ll walk you through the steps to achieve this unique effect using Adobe Photoshop.
What is the Bad Photocopy Effect?
The bad photocopy effect replicates the look of a poorly scanned or photocopied document. It’s characterized by high contrast, loss of detail, and a grainy texture. This effect is often used in graphic design to evoke nostalgia or create an artistic, DIY feel.
💡Tips for Customizing the Effect
Add Color Tints: Use a Gradient Map adjustment layer to add subtle color tones for a vintage feel.
Overlay Textures: Import paper or grunge textures to enhance the photocopied look.
Play with Opacity: Lower the opacity of certain layers to create a more subtle effect.
What You’ll Need
Adobe Photoshop (any recent version)
A high-quality photo (portraits or high-contrast images work best)
Follow along the video bellow.


COMMENTS